PUBLISHED: Aug 14, 2015
DESCRIPTION:
Learn more from Ian Vargo in his debut course ➥ http://masteringinthebox.com
Get Unlimited Premium Mix Training: https://theproaudiofiles.com/members
Train your ears to EQ like a pro: https://quiztones.com
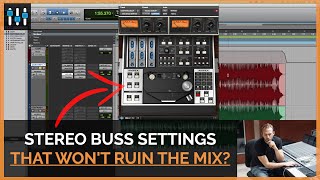
In this tutorial, Ian Vargo demonstrates his tips and tricks for processing a stereo buss in a mix for subtle enhancement without compromising the original mix
5 Plugins to Boost Perceived Loudness: http://theproaudiofiles.com/loudness-without-ruining-the-mix/
—
Transcript Excerpt:
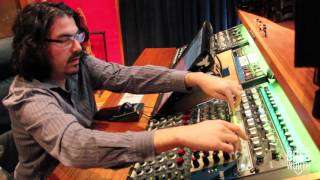
Greetings! My name is Ian Vargo and I'm with The Pro Audio Files.
Recently, I wrote an article on five plug-ins that you could use to boost perceived loudness, and there were some really great comments suggesting that I show you how I use them, giving practical examples, rather than just listing them.
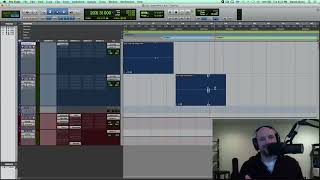
So that's what I'm going to do right now. Just for the sake of ease, I'm going to be mastering just within Pro Tools using plug-ins, okay?
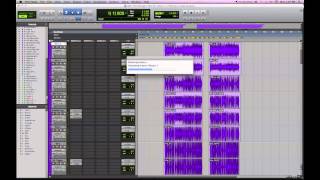
Let's take a listen to this track, which is Coat of Love, by the band Sunny Love and the Moon Parade. Pre-mastered before any effects.
[song]
Alright. Now, let's take a listen post all of my effects.
[song plays, louder]
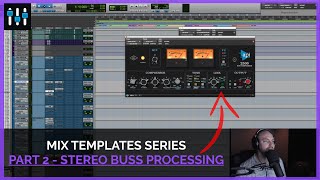
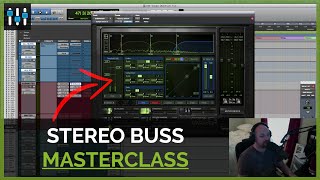
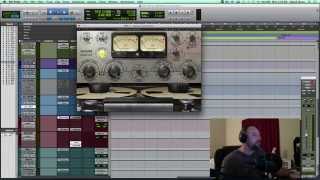
Alright. Somewhat louder. A little bit brighter. Definitely close to modern standard mastering specifications. Okay?So let me show you how I got there. I like starting with this brainworx plug-in. It's a mid/side EQ, which allows me to carve out space for the vocals, the guitars – it allows me to treat things that are in the center separately than the stereo section.
I'm going to hit play and show you an example of how I use it.
[music, filtered]
When you select a frequency, it solos that band.
[music continues playing, filtered]
Which essentially allows you to find problem frequencies. Things that ring out, things that are not sympathetic with the music. Okay?
Let's listen to a couple more that I chose to attenuate.
[music plays, changing filters]
Okay, so that is the mono section, which generally, we're only going to be treating the things that are in the center, like the bass, vocals, kick drum, and snare drum.
Let's listen to the stereo section.
[song plays, listening to side channels filtered]
So I like to use an attenuating EQ before any compression, because I don't want to overload any compressors that might be following.
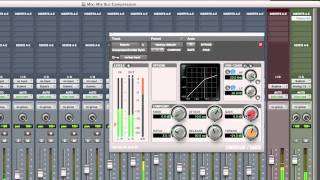
One that was on my list in terms of helping with perceived loudness is the Universal Audio Neve 33609. Let's restore the factory default, and I'll show you how I would use this.
[mix playback]
As you can see on the meter, we are approaching 4 dB and we have a relatively slow recovery. For mastering, we don't want that much gain reduction, and we want a faster release, so what I'm going to do is engage the limiter, make the recovery time on the limiter and the compressor as fast as possible, and turn up the threshold – I'm going to hit play and turn up the threshold until I only have about 1-2 dB of compression.
[mix playback]
I'm much more comfortable with that. If I turn up the ratio, you will hear much more compression.
[mix playback]
So generally, I'm pretty happy with a mastering compressor that only has – only offers about 1-2 dB of compression and limiting. Okay?
Next on my list was this L3 multi-maximizer. The reason I like it is because it allows you to target specific frequencies to compress. Let's hit play.
[mix]
So, for example, the low-mids here might be a little bit muddy, and contributing to some frequency buildup.
Perhaps there's some harshness in the 2-4kHz range? And I can attenuate subtly. This is a little bit less subtle than I would like. Let's bring the threshold up a little bit.
[mix]
For this particular mix, this plug-in did not make the final master.
Next, this was also on my list, was the Universal Audio ATR-102 from Ampex. This plug-in really adds a lot of vibe, color, and character, while boosting volume just a little bit.
[mix plays]
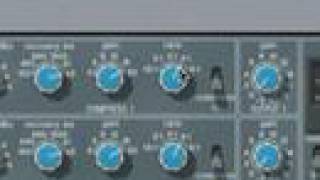
Speaking of glue, we've got The Glue from Cytomic. This is an emulator of the SSL master buss compressor.
I really like this feature where you can turn the wet/dry balance to wherever you desire. Basically emulating parallel compression, because I find if you have the wetness all the way up, it introduces some high end that I don't always like, so I tend to keep it pretty low. Generally under 50%.
With compressors on your master fader, it's extremely important to know your attack and release times. I like having slow attack and fast release times to allow the transients to come through, and introduce just a little bit of excitement to the mix with a fast release.
[truncated]