PUBLISHED: Aug 14, 2014
DESCRIPTION:
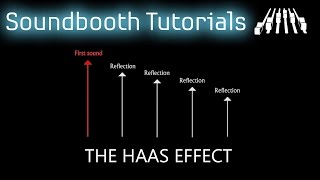
The Haas Effect is a mixing process which comes out of the research carried out by Helmut Haas in the late 1940's. The technique involves the use of short delays to re-create the feeling of ambiance around a mono sound. The very short delays used replicate panning -- but in finer degrees than is possible with traditional panning.
Our ears hear sounds with short delays between them (as well as other differences. such as volume, frequency and phase correlation), and then interpret the first sound heard as the sound location, based on the delay time between the first and second sound (and third, forth, etc...). Essentially, our brain fuses the reflections around an environment to the original sound (as long as they are under 40ms), to decipher the position of the sound source. There are other things at play here, including volume, pitch - as a mixing technique we can exploit this technique using the tools we have to recreate this 'environment'.
.
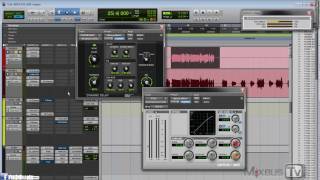
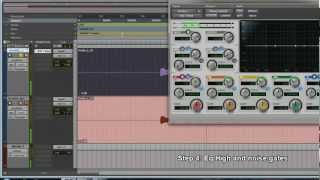
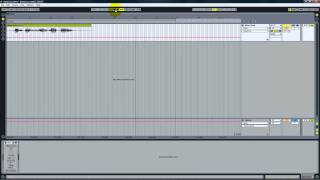
Method: Simply duplicate the mono instrument to another track, pan them opposite each other, and place a short delay on one side. It's good practice to add the same delay to the other side -- but bypassed -- to avoid any potential latency issues. The effect does introduce comb filtering, but this is only a problem in conversions from stereo to mono. If you are concerned of losses you can always check your track in mono to see if the instrument suddenly disappears.
As a general guide, I found the following delay track settings handy:
For panning effects - 0.1 to 0.7ms
For adding depth - 10 to 40ms
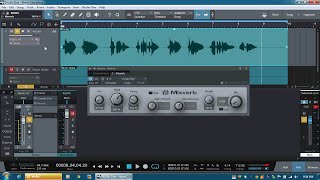
Additional tweak-age: One thing that I would also encourage you to do, which wasn't mentioned in the video, is to play around with adding a stereo plugin on a mono channel -- but make both sides of the stereo delay 50%, instead of 100%. You can also add in some HF roll off to one side of the plugin for further effect.
Additional Links - Free Haas plugin
http://www.vescofx.com/vfxFreeHaas - You need a VST wrapper to use this and unfortunately it only does values between 1 & 40ms (not 0.1 & 1ms).
You could also shift the delay track manually using nudge keys in 'samples' mode inside of Pro Tools. 4410 samples equals 0.1ms delay @ 44.1kHz sample rate; 4800 samples equals 0.1ms delay @ 48kHz sample rate.
New videos will appear whenever I can make them. Stay tuned by Subscribing and smashing that Like button!
Web Links:
splmixing.com
facebook.com/splmixing
soundcloud.com/splmixing
twitter.com/splmixing
instagram.com/spl_mixing/
pinterest.com.au/splmixing/
snapchat.com/add/spl.mixing/
Email:
daniel@splmixing.com
Thank you for your continued support!
I welcome your questions and ideas for new videos!
Make a Donation in appreciation. Visit the SPL Mixing main page and help the channel grow by clicking on the “Support this channel” button on the right-hand side.
Happy Mixing!
P.S. The opening tune uses Haas on both guitars and on the drum ending. Big thanks too to Dave Moulton for his help with calculating the delay times for comb filtering!